If you know how to check brake pads, you can catch an expensive or unsafe problem before it turns into a grinding noise at the worst possible time. You do not need a full garage, a scan tool, or an engineering degree. A flashlight, a safe parking spot, and ten quiet minutes are enough for a useful first inspection.
Brake pads are friction materials that press against a brake rotor when you stop. They wear gradually, but not always evenly. The pad on the outside of the wheel can look acceptable while the inside pad is nearly gone. That is why a quick look is valuable, but a quick look should not be mistaken for a complete professional inspection.
What you need before checking
Park on a flat surface, turn the vehicle off, set the parking brake, and let the wheels cool if you have recently driven. Heat is not just uncomfortable; a recently used brake assembly can burn skin quickly. Keep children away from the vehicle, and do not rely on a jack alone if you need to remove a wheel. Use jack stands on a solid surface and follow the vehicle owner's manual.
For a basic inspection, gather a bright flashlight, a phone camera, work gloves, and a small ruler. Wheel spokes are often open enough to let you view the brake pad without removing anything. If the wheel design blocks your view, removing the wheel provides a clearer answer, but only do that if you know how to support the vehicle safely.
Do not crawl under a vehicle supported only by a portable jack. Also avoid touching the shiny rotor surface with greasy gloves. Oil or heavy contamination can affect braking and should be handled by a repair professional.
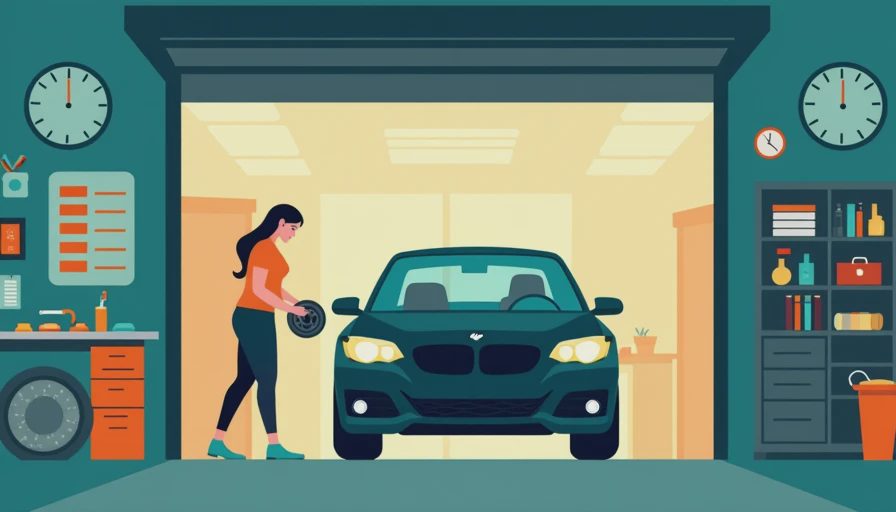
How to check brake pads through the wheel
Start by looking through the wheel spokes with your flashlight. Find the rotor, which is the large flat metal disc, and then locate the pad pressed against its edge. You are looking for the thickness of the friction material, not the metal backing plate behind it.
A new pad often has roughly 10 to 12 millimeters of friction material, although the exact thickness depends on the vehicle and pad design. Around 6 millimeters usually means wear is visible and service planning is sensible. At about 3 to 4 millimeters, replacement is commonly approaching, especially if the wear is uneven. A pad that appears close to 2 millimeters deserves prompt attention rather than another “I will check it next month.”
Use the ruler through the opening only if you can do so without contacting the rotor. Take a close-up photo with your phone from several angles. Camera images are useful because they let you zoom in and compare the left and right sides later. Remember that the visible outer pad may not represent the inner pad.
Signs that the pads need attention
Thickness is only one part of the inspection. Listen for a high-pitched squeal, which can come from a wear indicator contacting the rotor. A scraping or grinding sound is more serious. It can mean the friction material is gone and the backing plate is contacting the rotor, potentially turning a routine pad replacement into a larger repair.
Look for a vehicle pulling to one side during braking, a pedal that feels unusually soft, or vibration through the steering wheel. These symptoms do not prove the pads are the cause. A sticking caliper, contaminated friction surface, worn rotor, air in the hydraulic system, or another issue can create similar behavior. Treat a sudden change in braking as a reason to stop experimenting and arrange an inspection.
A dashboard brake warning light also deserves attention. Some vehicles use a pad-wear sensor, while others use the light for the parking brake or a hydraulic-system warning. The owner's manual explains what the symbol means. A warning light paired with a low pedal or reduced stopping performance is not a “drive it and see” situation.

Comparing wear across wheels
When you check brake pads, compare the visible pad on the driver side with the same position on the passenger side. A large difference can indicate uneven wear. Compare the front axle separately from the rear axle because many vehicles use different pad sizes and braking loads at each end.
Uneven wear often points to a hardware problem rather than ordinary pad aging. A caliper that does not release correctly can keep one pad pressed against the rotor. Dry or damaged guide pins can prevent the caliper from moving as designed. A bent backing plate or debris can also create noise. Replacing only the thinnest pad without finding the reason for the difference can lead to repeat repairs.
Brake pads are normally replaced in pairs on the same axle. Replacing one front pad by itself can create inconsistent friction and is not the usual repair approach. The correct parts should match the vehicle's year, model, trim, and brake package; some vehicles have multiple factory configurations.
When a professional inspection makes sense
Learning how to check brake pads is useful, but it has limits. A shop can remove the wheel, measure pad thickness accurately, inspect both sides, check rotor condition, and verify caliper movement. Many repair shops offer a visual brake inspection, sometimes at no charge when you are already scheduling other service, though policies differ.
Expect a straightforward pad replacement to vary widely by vehicle. A common compact car might cost approximately $250 to $500 for one axle at an independent shop, while a larger SUV, luxury vehicle, or performance-oriented brake package can run $500 to $1,000 or more. Rotors, seized hardware, electronic parking brakes, and additional labor can raise the total.
Ask for the measured pad thickness, photographs if available, and a written estimate that separates pads, rotors, labor, and shop fees. That turns a vague recommendation into information you can evaluate. If the estimate seems high, getting a second opinion is reasonable, but do not delay when braking performance has changed.
A simple inspection routine
Use the same routine every time. First, note any new noise, vibration, pulling, or warning light. Second, inspect through each wheel with a flashlight. Third, photograph the inner and outer pads when possible. Fourth, compare left and right wear. Fifth, record the date, mileage, and approximate thickness in your phone's maintenance notes.
A check every few months is practical for many drivers, and it is especially useful before a long road trip, after buying a used vehicle, or when changing seasonal tires. Frequent city driving, towing, steep hills, and stop-and-go traffic can consume friction material faster than relaxed highway miles.
Do not use a general mileage number as a substitute for inspection. Some pads last 25,000 miles, while others last well beyond 50,000, depending on vehicle weight, driving conditions, materials, and pedal habits. Your actual wear tells the better story.
The useful answer
The best reason to learn how to check brake pads is not to avoid every repair bill. It is to replace guesswork with an early, informed decision. You can identify a healthy-looking pad, spot uneven wear, document a questionable recommendation, and recognize when the vehicle should not be driven farther.
If you find very thin material, deep rotor scoring, grinding, a soft pedal, or a warning light, schedule a professional inspection promptly. If the inspection looks normal, keep the photos and mileage record so the next check has a comparison point. Bench-tested. Kid-tested. That is a far better maintenance habit than waiting for a noise to explain the problem.